

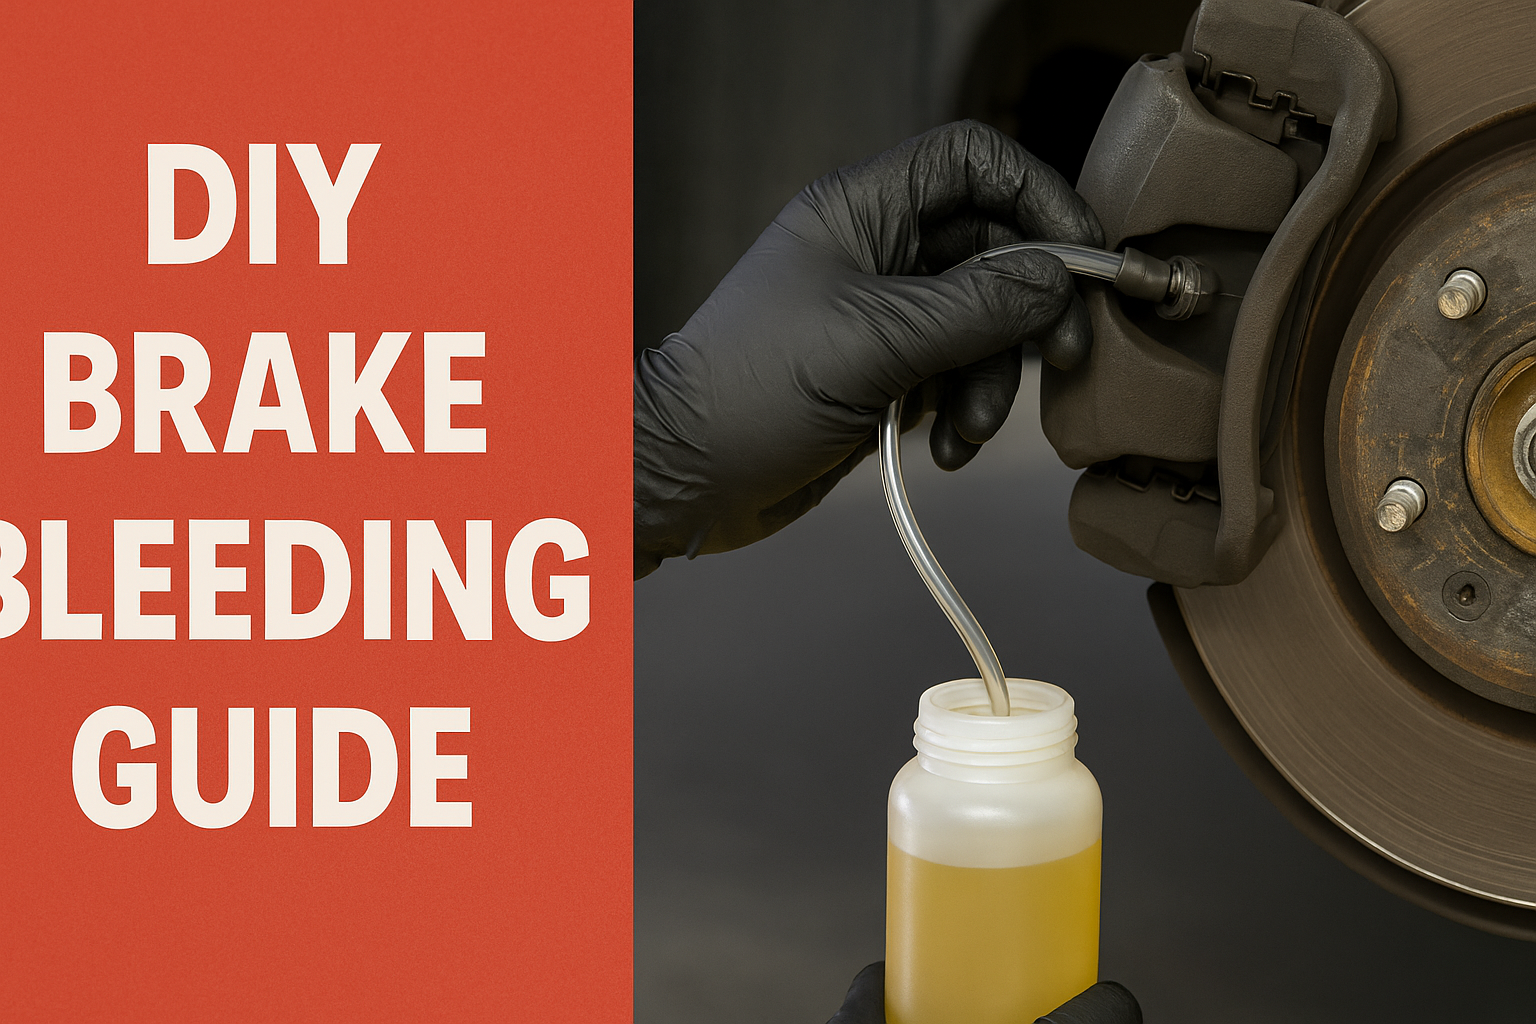
Bleeding brakes is essential when you replace fluid, open the brake system, or notice a spongy pedal. Let’s walk through a DIY brake bleeding procedure to ensure your brakes feel firm and responsive.
📝 What You’ll Need:
- Fresh brake fluid (check vehicle manual for type)
- Box-end wrench for bleeder valves
- Clear tubing and a small container
- A friend to pump the brake pedal
- Jack and jack stands or a lift
- Wheel chocks
- Gloves and safety glasses
🏁 Step 1: Preparation
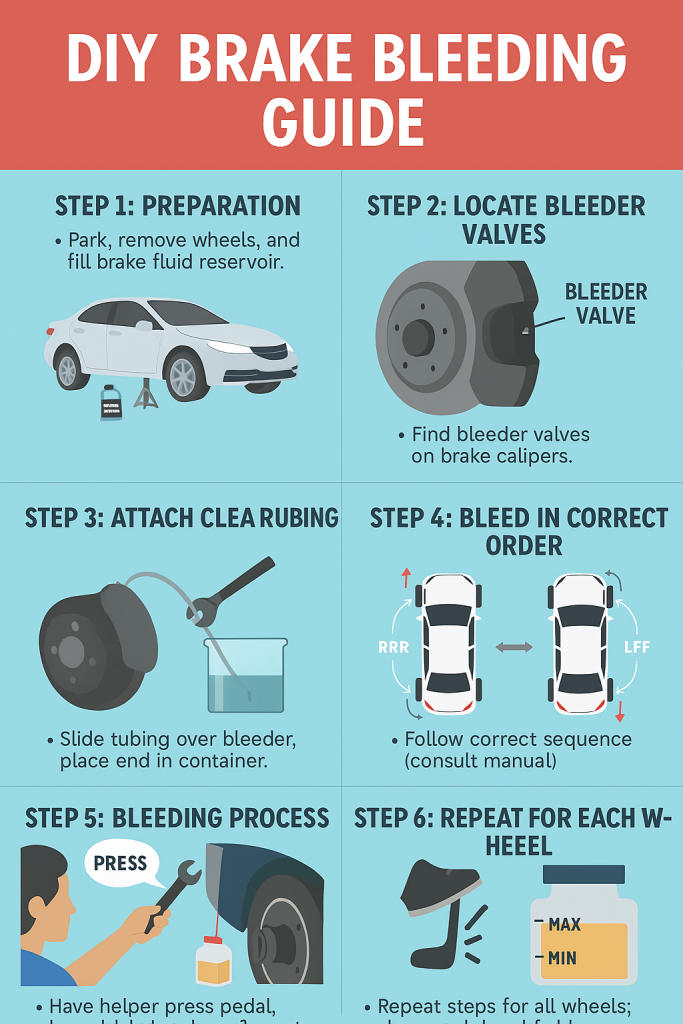
Illustration: Car raised, wheels off, brake fluid on table
🔹 Park the vehicle on a flat surface.
🔹 Chock the wheels and raise the car with a jack. Support it securely with jack stands.
🔹 Remove the wheels to access brake calipers.
🔹 Check the brake fluid reservoir and fill it with fresh fluid to the “MAX” line.
🏁 Step 2: Locate Bleeder Valves
Illustration: Close-up of a bleeder valve on a caliper
🔹 Find the bleeder valves on each caliper (or wheel cylinder for drum brakes).
🔹 Clean the area around the valve to prevent contamination.
🏁 Step 3: Attach Clear Tubing
Illustration: Tubing connected to bleeder valve with container
🔹 Place a wrench on the bleeder valve.
🔹 Slide clear tubing over the valve’s nipple.
🔹 Submerge the other end of the tubing in a small container partially filled with brake fluid (to prevent air from re-entering).
🏁 Step 4: Bleed in Correct Order
Illustration: Car diagram showing bleeding sequence (usually RR, LR, RF, LF)
🔹 Start with the wheel farthest from the master cylinder (usually right rear).
🔹 Then move to left rear, right front, and finish with left front.
🔹 Confirm your vehicle’s sequence from the service manual.
🏁 Step 5: Bleeding Process
Illustration: Person pressing brake pedal while helper opens bleeder
🔹 Have your helper press the brake pedal several times, then hold it down.
🔹 Loosen the bleeder valve slightly; fluid and air bubbles will flow into the container.
🔹 When the flow slows, tighten the valve before your helper releases the pedal.
🔹 Repeat until you see clear, bubble-free fluid.
🔹 Top off the brake fluid reservoir between wheels to avoid introducing air.
🏁 Step 6: Repeat for Each Wheel
🔹 Continue the process at each wheel in the correct order.
🔹 Refill the reservoir frequently to keep fluid above the “MIN” level.
🏁 Step 7: Final Check
Illustration: Close-up of brake pedal and reservoir
🔹 Pump the brake pedal; it should feel firm and responsive.
🔹 Check for leaks at the bleeder valves and connections.
🔹 Reinstall wheels and lower the vehicle.
🔹 Double-check brake fluid level and top off if necessary.
⚠️ Pro Tips:
✅ Use new brake fluid from a sealed container.
✅ Never let the reservoir run dry.
✅ Dispose of old fluid responsibly.
✅ If unsure, consult a mechanic—brakes are safety-critical!