
Introduction
Few things are more frustrating than a car that refuses to start. More often than not, the culprit is a weak or dead battery. While jump-starting may get you going temporarily, the real solution is to recharge the battery properly.
But here’s the challenge: not everyone has access to professional garage equipment or wants to call roadside assistance every time a battery goes flat. That’s why many car owners wonder: can I charge my car battery with home electricity?
The answer is yes — but it must be done safely and correctly. You cannot connect a car battery directly to a wall outlet. Household electricity is high-voltage AC (110V–240V), while car batteries require low-voltage DC (12V). To bridge this gap, you need a car battery charger, which converts AC into the correct DC output for your battery.
This in-depth guide will explain everything you need to know, including:
- Basics of car batteries and electricity
- Why you need a charger (and never direct home power)
- Step-by-step charging instructions
- Types of chargers you can use
- Safety precautions
- Common mistakes to avoid
- Buying guide for home chargers
- Maintenance tips to extend battery life
- FAQs and final advice
By the end, you’ll have a complete understanding of how to charge your car battery at home safely and effectively.
Understanding Car Batteries and Electricity
Before learning how to charge, it helps to understand the basics.
What Type of Battery Do Cars Use?
Most vehicles use lead-acid batteries or AGM (Absorbent Glass Mat) batteries, both of which store electrical energy in a chemical form. Newer models sometimes use lithium-ion batteries, though these are less common in standard cars.
- Voltage: Standard car batteries are 12V (some trucks and industrial vehicles use 24V).
- Capacity: Measured in amp-hours (Ah). Typical car batteries range from 40Ah to 100Ah.
- Cold Cranking Amps (CCA): Indicates how much current the battery can deliver to start the engine in cold conditions.
Household Electricity vs. Car Battery Needs
- Home outlets: Provide 110–120V AC (North America) or 220–240V AC (Europe, Asia).
- Car battery: Requires 12V DC.
⚠️ This is why you must never plug a car battery directly into your home socket — the difference in voltage and current will destroy the battery and could cause fire or injury.
What is a Car Battery Charger?
A car battery charger is a device that plugs into your wall socket and converts home AC power into the safe DC current your car battery needs.
Functions of a Charger
- AC to DC Conversion – Converts household alternating current (AC) into direct current (DC).
- Voltage Regulation – Provides the correct voltage (12V or 24V).
- Current Control – Prevents overcharging or overheating.
- Battery Maintenance – Many smart chargers include float or trickle modes to keep the battery topped up safely.
Types of Car Battery Chargers
Not all chargers are the same. Choosing the right one depends on your needs.
1. Manual Chargers
- Provide a constant current until unplugged.
- Affordable but require user monitoring.
- Risk of overcharging if left connected too long.
2. Automatic Chargers
- Shut off automatically when the battery is full.
- Safer and more convenient.
3. Smart Chargers (Recommended)
- Use microprocessors to adjust charging based on battery condition.
- Support multiple modes: bulk, absorption, and float.
- Can work with lead-acid, AGM, and even lithium batteries.
- Best choice for home users.
4. Trickle Chargers
- Deliver a very low current over a long time.
- Ideal for maintaining battery charge in stored vehicles.
5. Jump Starter + Charger Combos
- Portable devices that can jump-start and recharge a battery.
- Handy for emergencies but slower for full charging.
Step-by-Step: How to Charge a Car Battery with Home Electricity
Now let’s walk through the process in detail.
Step 1: Safety First
- Work in a well-ventilated area.
- Wear gloves and eye protection.
- Ensure no open flames or sparks nearby (charging batteries release hydrogen gas).
Step 2: Prepare the Battery
- Turn off your car and remove the keys.
- If removable, take the battery out for safer charging (optional).
- Inspect terminals and clean corrosion if needed (use baking soda + water solution).
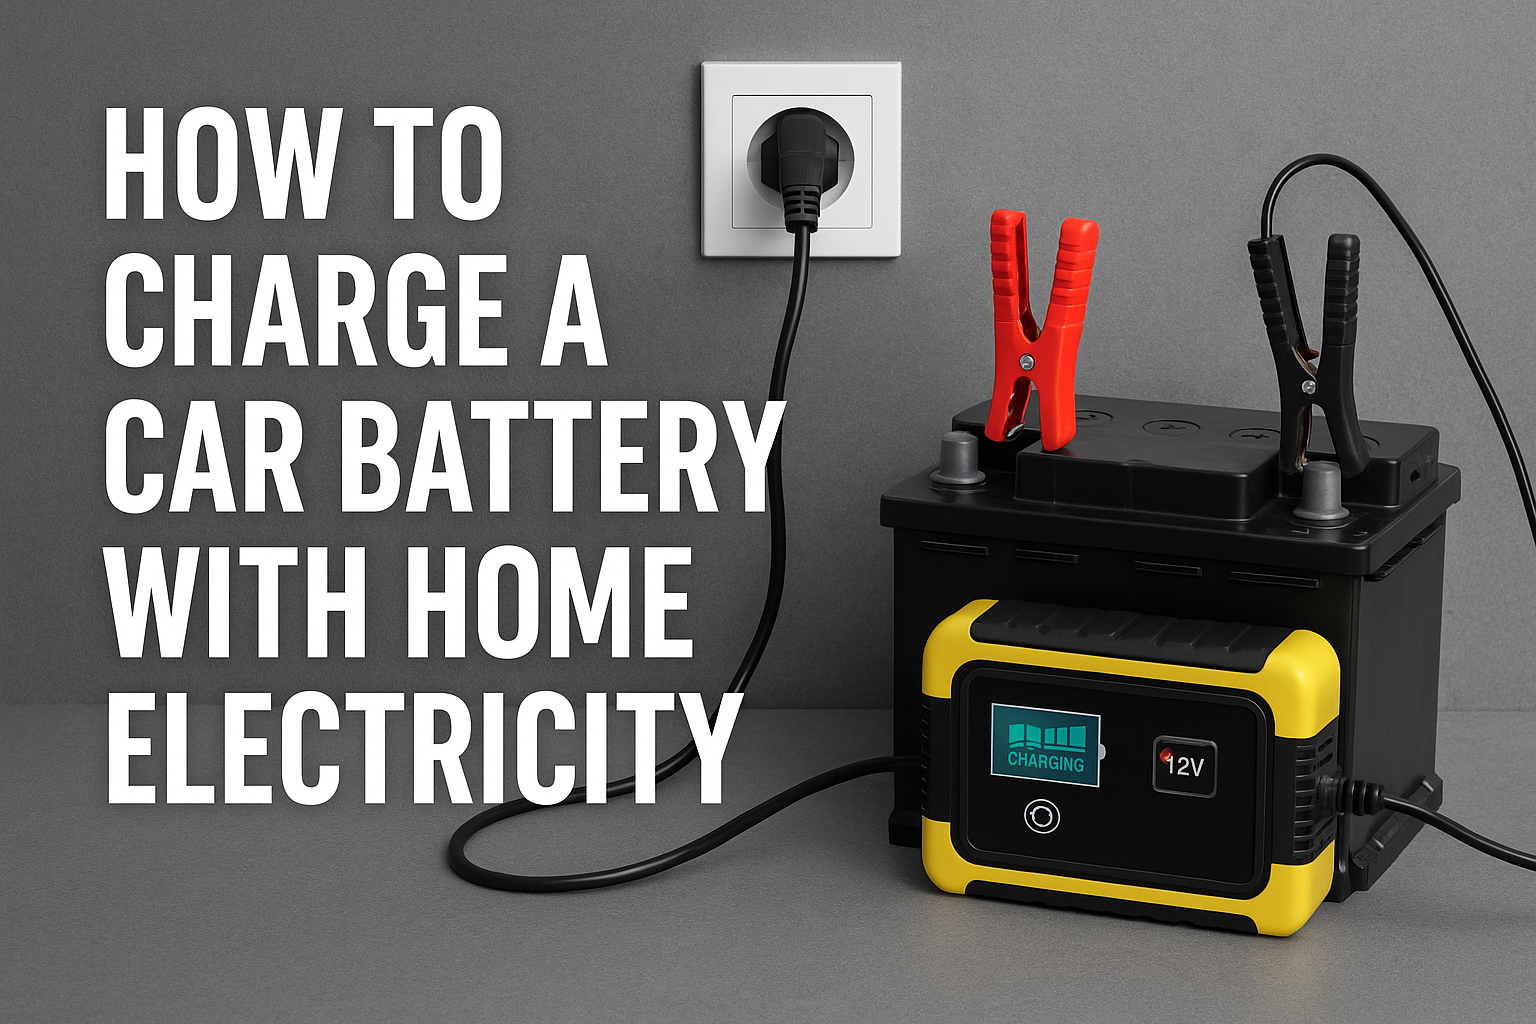
Step 3: Connect the Charger
- Connect the red clamp to the positive (+) battery terminal.
- Connect the black clamp to the negative (–) terminal.
- Ensure connections are tight and clamps do not touch each other.
Step 4: Set Up the Charger
- Select voltage: 12V (or 24V for trucks).
- Choose charging mode:
- Slow charge (2–10 amps): Safer and healthier for the battery.
- Fast charge (10–30 amps): Quick but may reduce lifespan if used often.
Step 5: Plug into the Wall Outlet
- Insert the charger plug into a standard wall socket.
- The charger begins converting AC to DC.
Step 6: Charging Time
- Typical time:
- Trickle charger → 12–24 hours
- Standard charger → 6–12 hours
- Fast charger → 3–6 hours
- Monitor progress with the charger’s indicator lights or a multimeter.
Step 7: Finishing Up
- Once fully charged (12.6–12.8V), unplug the charger from the wall.
- Disconnect the black clamp first, then the red clamp.
- Reinstall the battery if removed.
Safety Precautions
- Never charge indoors without ventilation – hydrogen buildup is explosive.
- Do not touch clamps while charging – high current can cause burns.
- Avoid sparks or smoking near the battery.
- Don’t overcharge – use an automatic or smart charger whenever possible.
- Check battery health – if the case is swollen, leaking, or cracked, replace it instead of charging.
Common Mistakes to Avoid
- Connecting clamps backwards (positive to negative).
- Using a charger with the wrong voltage.
- Leaving a manual charger on too long.
- Charging a frozen battery (it can explode).
- Assuming a jump-start is the same as a full charge.
How to Choose the Right Charger for Home Use
When buying a charger, consider:
- Compatibility – Ensure it matches your battery type (lead-acid, AGM, lithium).
- Amperage – Higher amps = faster charging, but slow charging is safer.
- Portability – Compact models are easier to store.
- Extra Features – USB ports, battery diagnostics, or maintenance mode.
- Brand Reliability – Choose trusted manufacturers with safety certifications.
Maintenance Tips for Car Batteries
- Drive your car regularly (short trips drain batteries faster).
- Keep terminals clean and corrosion-free.
- Check voltage with a multimeter once a month.
- Use a trickle charger if the car is stored long-term.
- Replace old batteries (average lifespan: 3–5 years).
FAQs
1. Can I connect my car battery directly to a wall socket?
No. Household AC will destroy the battery and can cause fire or injury. Always use a charger.
2. How do I know if my battery is fully charged?
A fully charged battery should read 12.6–12.8 volts when measured with a multimeter.
3. Can I leave my battery charging overnight?
Yes, if you’re using a smart or automatic charger. Not recommended with manual chargers.
4. How often should I charge my car battery at home?
If you drive regularly, the alternator keeps it charged. For stored cars, recharge every few weeks.
5. What if my battery won’t charge?
It may be too old, sulfated, or damaged. In this case, replacement is the best option.
Conclusion
Charging a car battery with home electricity is not only possible, it’s practical — as long as you use the right equipment and follow safe procedures. With a proper car battery charger, you can restore power to your vehicle from the comfort of your garage or driveway.
The key takeaways are:
- Never connect a car battery directly to a wall socket.
- Always use a dedicated charger that converts AC to DC.
- Follow the correct charging steps to avoid damage or accidents.
- Invest in a smart charger for convenience, safety, and long-term battery health.
By keeping the right tools on hand and knowing how to use them, you’ll never have to worry about being stranded with a dead battery again.