
A leaking coolant pipe can quickly turn a smooth drive into a stressful situation. For automotive enthusiasts and DIYers who frequent tools-related blogs, fixing a coolant pipe leak is a manageable project that can save you time and money while honing your mechanical skills. This comprehensive guide will walk you through the process of diagnosing and repairing a leaking coolant pipe, from identifying the issue to using the right tools for a lasting fix. Whether you’re a seasoned wrench-turner or a beginner with a toolbox, you’ll find actionable steps to get your vehicle’s cooling system back in top shape.
Understanding the Role of Coolant Pipes in Your Vehicle
Coolant pipes, often referred to as hoses, are integral components of your vehicle’s cooling system. They transport coolant—a mixture of water and antifreeze—between the radiator, engine, water pump, and other parts to regulate engine temperature. These pipes are typically made of rubber or silicone, materials that are durable but prone to wear over time due to heat, pressure, and exposure to chemicals.
A leaking coolant pipe can lead to low coolant levels, engine overheating, and potential damage to critical components like the head gasket or engine block. Addressing the issue promptly is essential to avoid costly repairs. Fortunately, with the right tools and know-how, you can fix a leaking coolant pipe yourself.
Signs of a Leaking Coolant Pipe
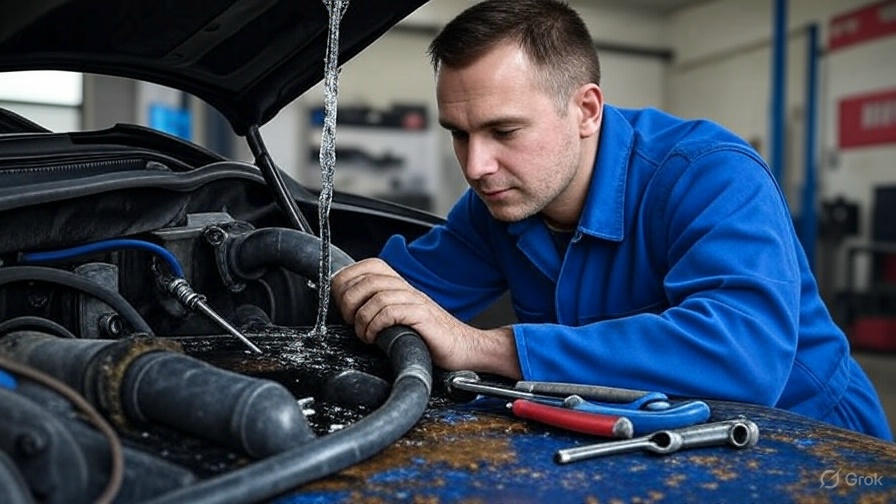
Before diving into the repair process, you need to confirm that a coolant pipe is indeed the source of the leak. Look for these telltale signs:
- Puddles Under the Vehicle: Bright green, yellow, or orange fluid under your car, often with a sweet smell, indicates a coolant leak.
- Low Coolant Levels: Check the coolant reservoir; if you’re frequently topping it off, a leak is likely.
- Overheating Engine: A rising temperature gauge or warning light suggests the cooling system isn’t functioning properly.
- Visible Wetness or Cracks: Inspect the coolant pipes for damp spots, cracks, or bulging areas.
- Hiss or Steam: A hissing sound or steam from the engine bay may indicate a coolant leak under pressure.
Tools and Materials You’ll Need
Fixing a leaking coolant pipe requires a handful of tools and materials, many of which you may already have in your garage. Here’s what you’ll need:
- Socket Wrench Set and Screwdrivers: For removing clamps and other components.
- Cooling System Pressure Tester: To pinpoint the leak ($50–$150).
- UV Dye Kit and Flashlight: Optional for hard-to-find leaks ($20–$50).
- Replacement Coolant Pipe/Hose: Ensure it matches your vehicle’s specifications ($10–$50).
- Hose Clamps: New clamps to secure the pipe ($5–$15).
- Coolant: Use the type recommended by your vehicle manufacturer ($10–$30).
- Drain Pan: To catch drained coolant ($10–$30).
- Pliers: For removing and installing hose clamps.
- Utility Knife or Hose Cutter: To trim the new pipe if needed.
- Shop Towels and Gloves: Coolant can be toxic, so protect your hands and clean up spills.
- Safety Glasses: To shield your eyes from coolant splashes.
Step-by-Step Guide to Fixing a Leaking Coolant Pipe
Follow these steps to diagnose and repair a leaking coolant pipe. Always work on a cool engine to avoid burns, and ensure your vehicle is parked on a flat surface with the parking brake engaged.
Step 1: Diagnose the Leak
Start by confirming the coolant pipe as the leak source:
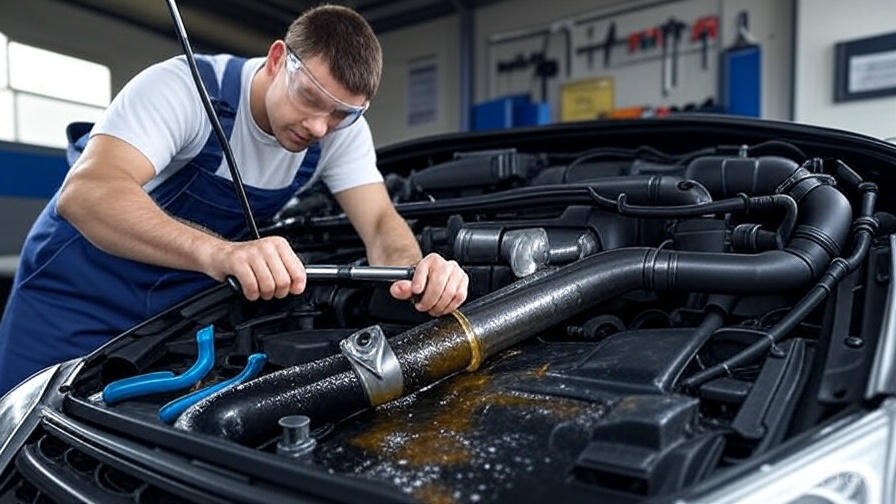
- Visual Inspection: Pop the hood and inspect the coolant pipes for visible cracks, bulges, or wet spots. Focus on areas near clamps and connections.
- Pressure Test: Use a cooling system pressure tester to pressurize the system. Attach the tester to the radiator or reservoir cap, pump it to the recommended pressure (usually 15–20 psi), and look for escaping coolant or hissing sounds.
- UV Dye (Optional): If the leak isn’t obvious, add UV dye to the coolant, run the engine for a few minutes, then use a UV flashlight to spot the glowing dye at the leak point.
Step 2: Drain the Coolant
To avoid a mess and safely work on the pipe:
- Place a drain pan under the radiator.
- Locate the radiator drain plug (usually at the bottom) and loosen it with a wrench or screwdriver to drain the coolant.
- If there’s no drain plug, disconnect the lower radiator hose to drain the system.
- Dispose of the old coolant properly at a recycling center, as it’s toxic to humans, animals, and the environment.
Step 3: Remove the Leaking Pipe
- Locate the Faulty Pipe: Based on your diagnosis, identify the leaking coolant pipe. Common culprits include the upper or lower radiator hoses, heater hoses, or bypass hoses.
- Loosen the Clamps: Use pliers or a screwdriver to loosen the hose clamps securing the pipe at both ends. Slide the clamps back along the pipe.
- Disconnect the Pipe: Gently twist and pull the pipe off its fittings. If it’s stuck, use a utility knife to carefully cut it off, but avoid damaging the fittings.
- Inspect the Fittings: Check the metal or plastic fittings for corrosion or damage. Clean them with a wire brush or sandpaper if needed.
Step 4: Install the New Coolant Pipe
- Prepare the New Pipe: Compare the replacement pipe to the old one to ensure it’s the correct size and shape. Trim it with a hose cutter if necessary.
- Attach the Pipe: Slide new hose clamps onto the pipe, then push the pipe onto the fittings at both ends. Ensure it’s fully seated and aligned.
- Secure the Clamps: Position the clamps over the fittings and tighten them with pliers or a screwdriver. Don’t overtighten, as this can damage the pipe.
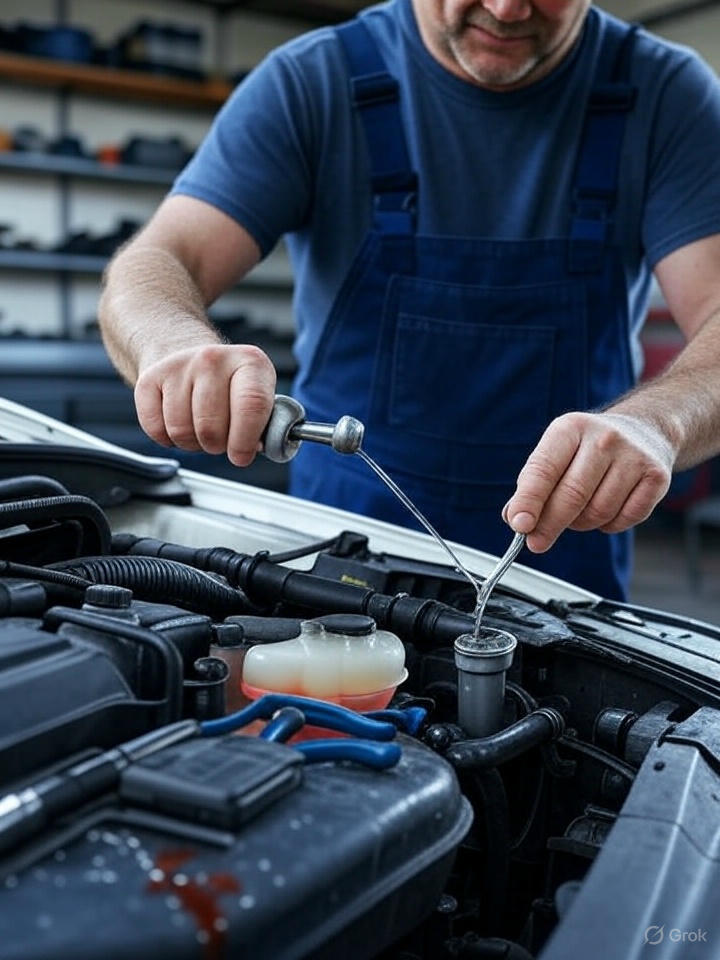
Step 5: Refill the Cooling System
- Close the Drain Plug: If you opened the radiator drain plug, tighten it securely.
- Refill with Coolant: Pour the manufacturer-recommended coolant into the radiator or reservoir until it reaches the “full” mark. If using concentrated coolant, mix it with distilled water as per the instructions (typically a 50/50 ratio).
- Bleed the System: Start the engine with the radiator cap off and let it run until the thermostat opens (you’ll see coolant circulating). Top off the coolant as air bubbles escape.
Step 6: Test for Leaks
- Run the Engine: Let the engine idle for 10–15 minutes, keeping an eye on the temperature gauge to ensure it doesn’t overheat.
- Check for Leaks: Inspect the new pipe and connections for any signs of leaking coolant.
- Pressure Test Again: Use the pressure tester to confirm the repair holds under pressure.
- Test Drive: Take the vehicle for a short drive, then recheck the coolant level and look for leaks after it cools.

Safety Tips for Working with Coolant
- Work on a Cool Engine: Never open the radiator cap or work on the cooling system when the engine is hot, as pressurized coolant can cause severe burns.
- Wear Protective Gear: Use gloves and safety glasses to avoid skin or eye contact with coolant.
- Ventilate the Area: Work in a well-ventilated garage to avoid inhaling coolant fumes.
- Clean Up Spills: Coolant is toxic and slippery. Wipe up spills immediately and dispose of contaminated towels properly.
When to Call a Professional
While fixing a leaking coolant pipe is often a straightforward DIY task, some situations may require professional help:
- Inaccessible Pipes: Some coolant pipes are buried deep in the engine bay, requiring specialized tools or disassembly.
- Internal Leaks: If the leak is inside the engine (e.g., a cracked block or head gasket), the repair is complex and best left to a mechanic.
- Persistent Leaks: If the new pipe still leaks, there may be an underlying issue like a damaged fitting or high system pressure.
- Lack of Confidence: If you’re unsure about any step, a professional can ensure the job is done right.
Professional repairs for a coolant pipe typically cost $150–$400, depending on labor rates and the complexity of the job.
Preventing Future Coolant Pipe Leaks
To keep your cooling system in top shape and avoid future leaks:
- Regular Inspections: Check coolant pipes for wear during routine maintenance, especially before long trips.
- Replace Aging Hoses: Most coolant pipes last 5–10 years or 100,000 miles. Replace them proactively if they’re nearing the end of their lifespan.
- Use Quality Coolant: The right coolant prevents corrosion and extends the life of pipes and other components.
- Monitor System Pressure: A pressure tester can help you catch small issues before they become big leaks.
- Avoid Overheating: Fix cooling system issues promptly to reduce stress on pipes.
Tools Spotlight: Best Picks for Cooling System Repairs
For readers of your tools-related blog, having the right tools makes all the difference. Here are some top picks for coolant pipe repairs:
- Lisle Hose Clamp Pliers: Makes removing and installing clamps a breeze.
- Astro Pneumatic Cooling System Pressure Tester: Reliable for diagnosing leaks in any vehicle.
- Gates Replacement Hoses: High-quality coolant pipes designed for durability.
- Klein Tools Utility Knife: Perfect for trimming hoses cleanly and safely.
- Craftsman Socket Wrench Set: Versatile for various automotive repairs, including coolant system work.
Conclusion: A Rewarding Fix for DIYers
Fixing a leaking coolant pipe is a practical project that can save you hundreds of dollars while keeping your vehicle running smoothly. With the right tools—like a pressure tester, pliers, and a good socket set—you can diagnose and repair the leak in a few hours. By following the steps outlined in this guide, you’ll not only address the immediate issue but also gain confidence in maintaining your vehicle’s cooling system.
For tool enthusiasts, there’s nothing more satisfying than solving a mechanical problem with your own hands. So grab your toolbox, roll up your sleeves, and get to work—your car (and your wallet) will thank you!