
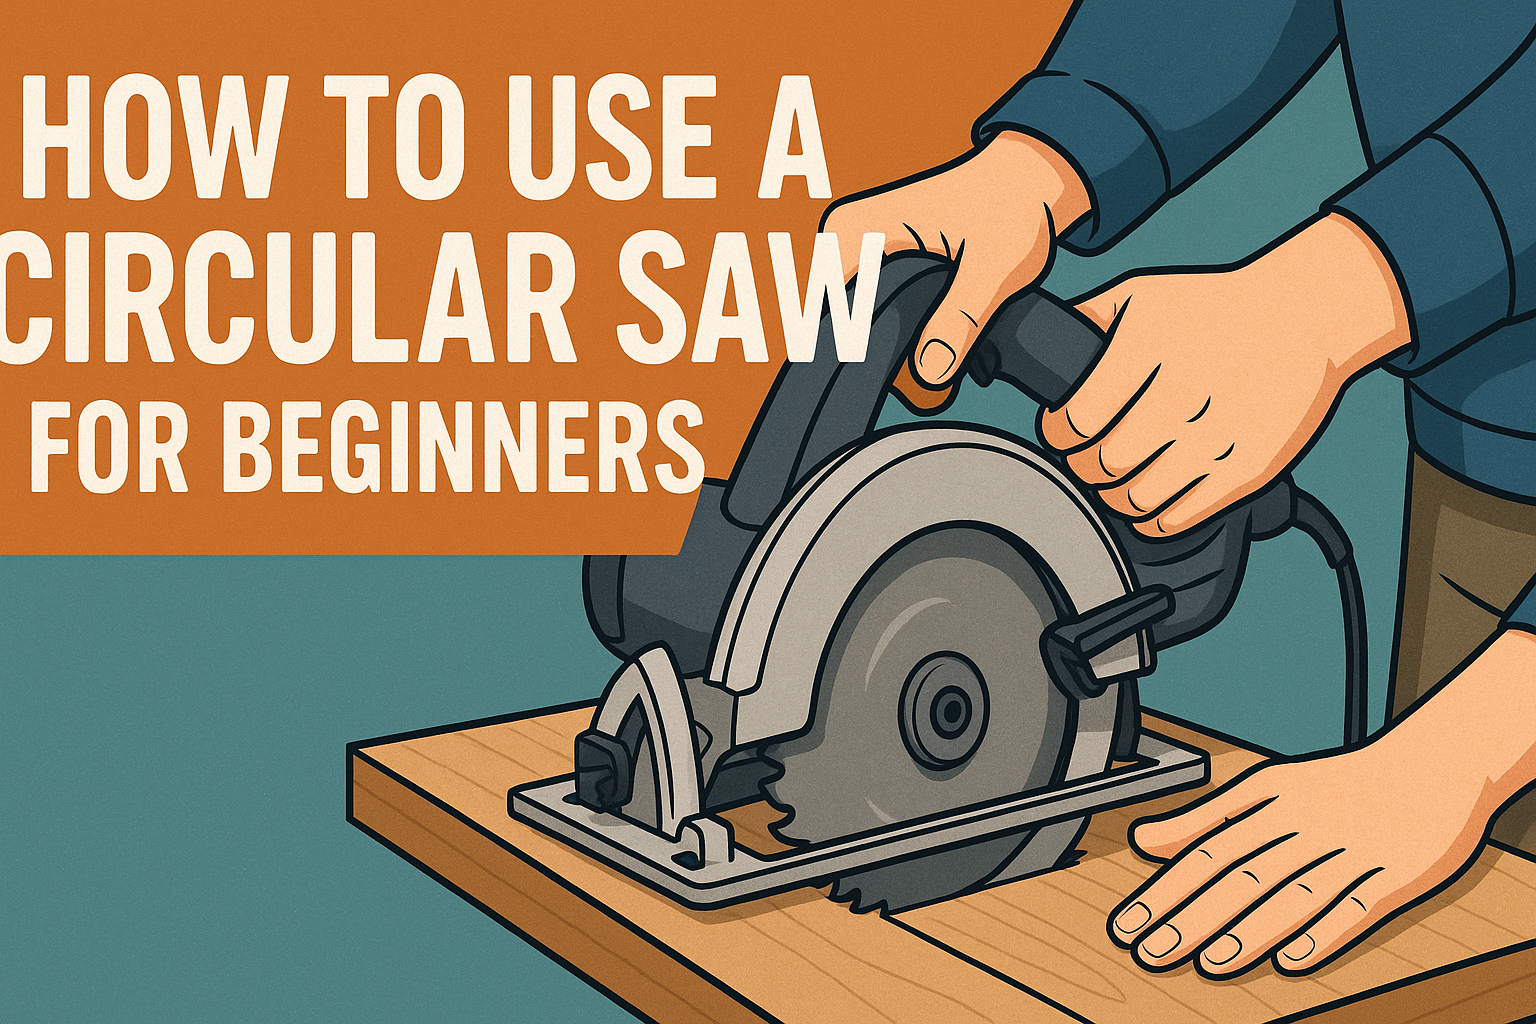
A circular saw is one of the most versatile power tools in any woodworker’s or DIY enthusiast’s toolkit. Whether you’re planning to build furniture, create garden planters, or tackle a home improvement project, a circular saw can make precise and quick cuts in wood, plywood, MDF, and even some metals.
But if you’re a beginner, using a circular saw can seem intimidating. You might worry about safety, proper setup, or getting clean cuts. Don’t worry! In this detailed beginner’s guide, we’ll walk you through everything you need to know to confidently use a circular saw for the first time.
Let’s dive right in!
What Is a Circular Saw?
A circular saw is a power tool equipped with a round blade (the “circular” part) that spins at high speed. The blade cuts through materials by rotating against them. Circular saws are commonly used for:
- Crosscuts (cutting across the grain of the wood)
- Ripping cuts (cutting along the grain)
- Bevel cuts (angled cuts)
Circular saws come in different types (corded and cordless), sizes, and configurations, but they all serve the same primary purpose: to make straight, accurate cuts in various materials.
Essential Safety Tips for Beginners
Before you even plug in or pick up your circular saw, safety is key. Circular saws are powerful tools that can be dangerous if used improperly. Follow these essential safety precautions:
✅ Wear Safety Gear – Always wear safety glasses or goggles to protect your eyes from flying debris. Hearing protection and a dust mask are also recommended.
✅ Check the Blade – Make sure the blade is sharp and properly installed. A dull or loose blade can cause accidents.
✅ Inspect the Saw – Ensure the guard is working, the base plate is secure, and the power cord is intact (if corded).
✅ Clear Your Workspace – Keep your cutting area clean and free of obstacles.
✅ Support Your Material – Never cut unsupported material. Use sawhorses or a sturdy workbench.
✅ Use Two Hands – Hold the saw firmly with both hands during operation.
✅ Unplug When Adjusting – Always unplug the saw (or remove the battery) when changing blades or making adjustments.
Step-by-Step Guide: How to Use a Circular Saw for Beginners
Now let’s go step-by-step through the process of using a circular saw safely and effectively.
Step 1: Choose the Right Circular Saw and Blade
For beginners, a 7-1/4 inch circular saw is a great choice, as it offers a good balance of power and control. Choose the right blade for your material:
- General-purpose wood blade: For most wood projects.
- Plywood blade: For fine cuts in plywood or MDF.
- Metal-cutting blade: For cutting aluminum or thin metal sheets.
Make sure the blade’s teeth face in the correct direction (usually marked on the blade and saw).
Step 2: Mark Your Cut Line
Use a measuring tape, square, and pencil to mark your cut line clearly. For longer cuts, a chalk line works well.
🔎 Pro Tip: Mark the side of the material you’ll keep to avoid cutting into your project piece by accident.
Step 3: Adjust the Depth of the Blade
Set the blade depth so it’s about 1/4 inch deeper than the thickness of the material you’re cutting. This ensures a clean cut without over-penetration.
- Loosen the depth adjustment lever or knob.
- Slide the base plate up or down to set the depth.
- Tighten the lever/knob securely.
Step 4: Set the Bevel Angle (Optional)
If you need an angled cut, adjust the bevel angle on your saw. Most circular saws can tilt up to 45 degrees. For straight cuts, keep it at 0 degrees.
Step 5: Secure the Material
Place your workpiece on sawhorses or a stable workbench. Make sure the material is fully supported and the cut path is clear underneath. The offcut side (the side you’re not keeping) should be free to fall without pinching the blade.
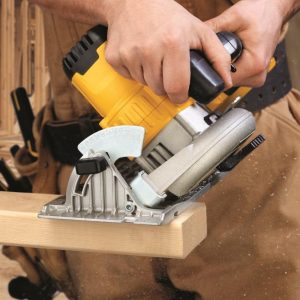
Step 6: Position the Saw
- Hold the saw with both hands.
- Position the front edge of the base plate (shoe) on the material.
- Align the blade with your cut line.
- Keep the blade clear of the material before starting.
Step 7: Start the Saw and Make the Cut
- Press the trigger and let the blade reach full speed.
- Slowly push the saw forward along the cut line, using steady pressure.
- Follow the guide notch or laser (if equipped) to stay on the line.
- Don’t force the saw. Let the blade do the work.
- Keep both hands on the saw until the cut is complete.
Step 8: Release and Wait
- Release the trigger once you’re past the cut.
- Wait for the blade to come to a complete stop before setting the saw down.
Pro Tips for Clean and Accurate Cuts
Here are some bonus tips to help you get better results with your circular saw:
🔸 Use a Clamping Guide – Clamp a straightedge (like a metal ruler or a straight piece of wood) along your cut line. It acts as a guide for the saw’s base plate and ensures a perfectly straight cut.
🔸 Score the Cut Line – For plywood or laminated boards, score the cut line with a utility knife before cutting to prevent splintering.
🔸 Support the Offcut Side – Prevent the material from falling mid-cut by supporting the offcut side. Use a helper or an additional support.
🔸 Cut with the Good Side Down – Most circular saws cut upward through the material, so any splintering will occur on the top side. Place the “good” side of your material face down.
🔸 Practice First – Before cutting your project material, make a few practice cuts on scrap wood to get comfortable with the tool.
Common Beginner Mistakes to Avoid
🚫 Forcing the Saw – Let the blade cut at its own pace. Forcing it can result in crooked cuts or kickback.
🚫 Not Supporting Material Properly – Unsupported material can cause pinching, kickback, or blade binding.
🚫 Setting the Blade Too Deep – Excessive blade depth increases resistance and risk. Set it to just 1/4 inch deeper than the material.
🚫 Ignoring Safety Gear – Never skip safety glasses and proper hearing protection.
Cleaning and Maintenance Tips for Circular Saws
🧽 Clean the Blade Regularly – Pitch and resin build-up can dull the blade. Use a blade cleaner or warm soapy water to clean it.
🛠 Inspect the Cord and Battery – Check for wear and replace if damaged.
🔧 Lubricate Moving Parts – Keep the pivot points and depth adjustment mechanisms moving smoothly.
🔍 Store Safely – Keep your circular saw in a dry place, and cover it to protect it from dust.
Circular Saw Projects for Beginners
Once you’re comfortable using your circular saw, try simple beginner projects like:
- Building a basic bookshelf or storage crate
- Cutting plywood for garage shelving
- Making a rustic coffee table
- Creating wooden planter boxes for your garden
These projects help you practice your cutting skills and build confidence with your saw.
Final Thoughts
Using a circular saw for the first time might feel a bit daunting, but with the right guidance and practice, it becomes an invaluable tool in your DIY toolkit. By following the safety tips, setup steps, and cutting techniques outlined in this guide, you’ll be well on your way to making clean, precise cuts in no time.
Remember: practice makes perfect. Start with simple cuts, gradually build your skills, and soon you’ll be tackling bigger and more complex projects with ease.